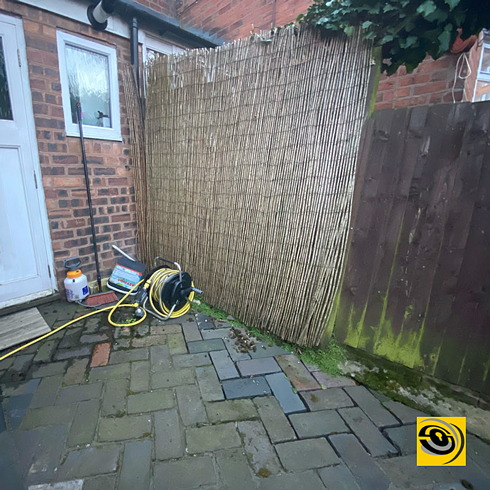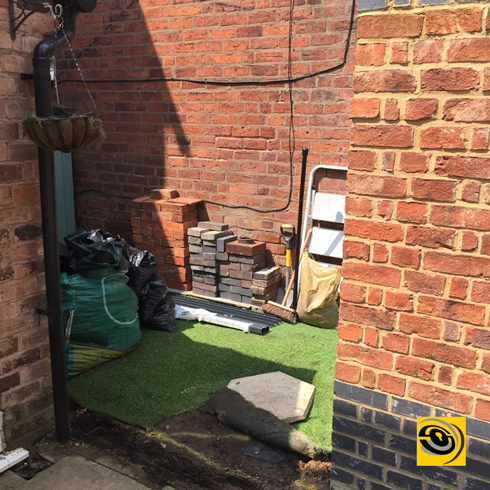
Step 2: Customer orders materials for the first gate which are stored within their garden ready for installation day
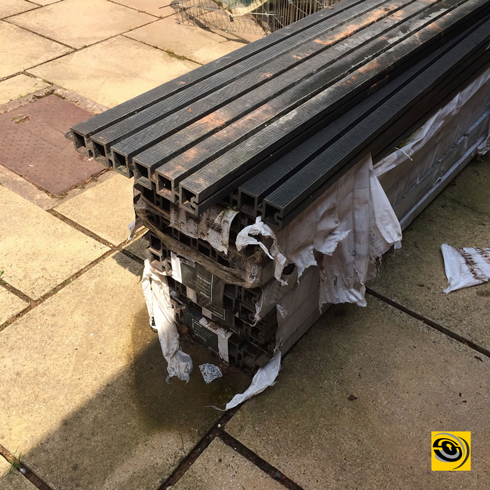
Step 3: Corner posts, post caps, u channels, top/bottom rails and urban composite panels fitted preparing to cut down DuraPost gate to fit gap between posts
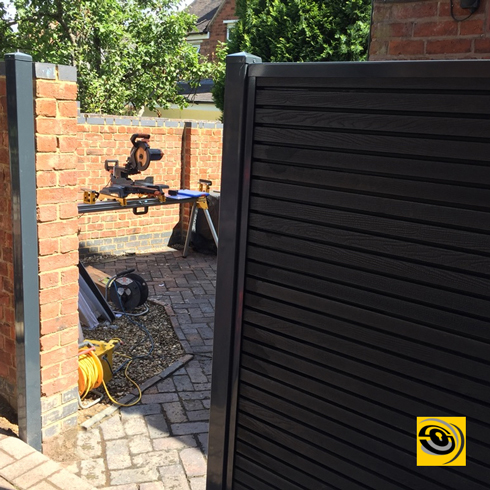
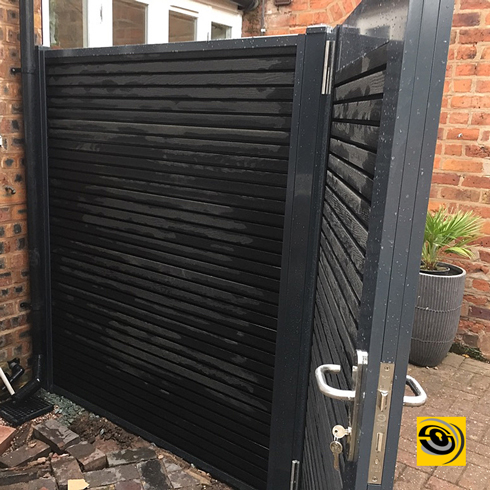
Step 4: Inside view DuraPost gate with urban panels
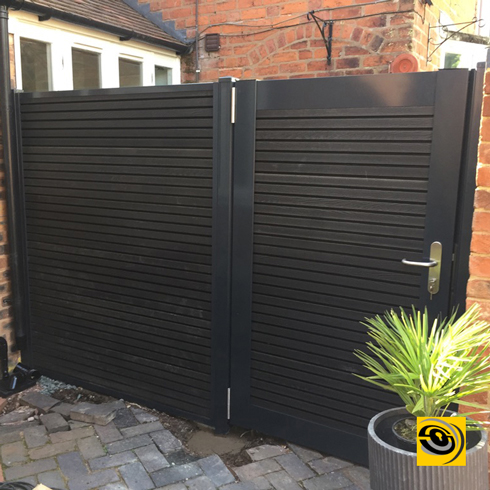
Step 5: Outside view DuraPost gate with urban panels and gap fitted with top and bottom rails
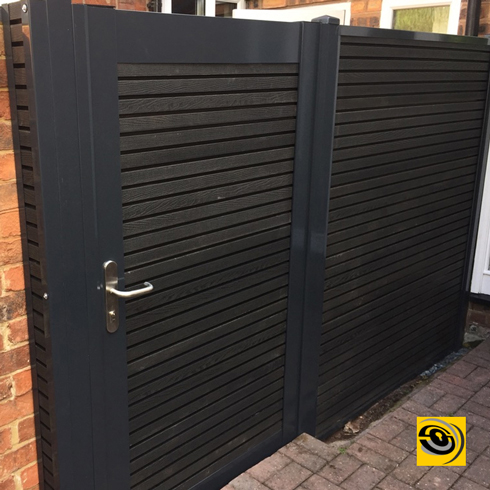
Step 6: Close-up view DuraPost gate with urban panels the gap between brick wall using top and bottom rails
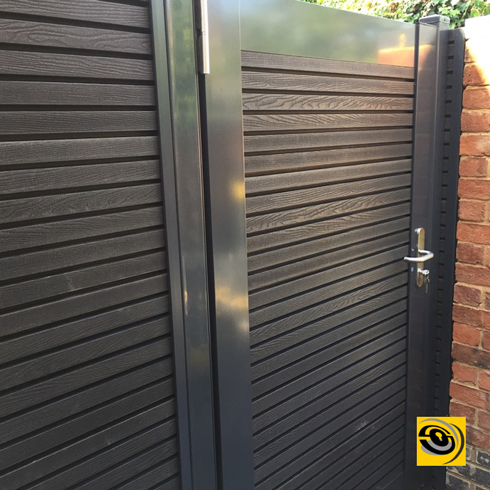
Step 7 DuraPost urban gate in open position on a rainy day
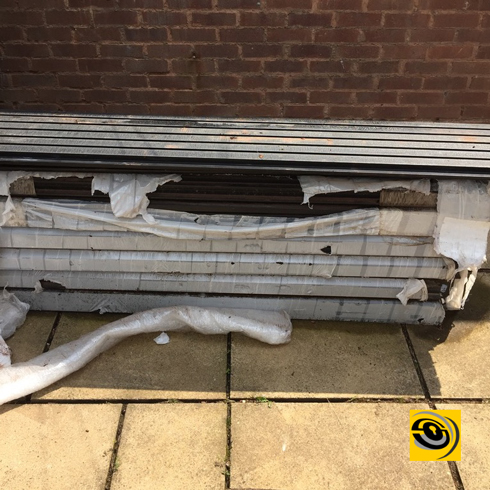
Step 2: Customer orders materials for second gate which are stored within their garden ready for installation day
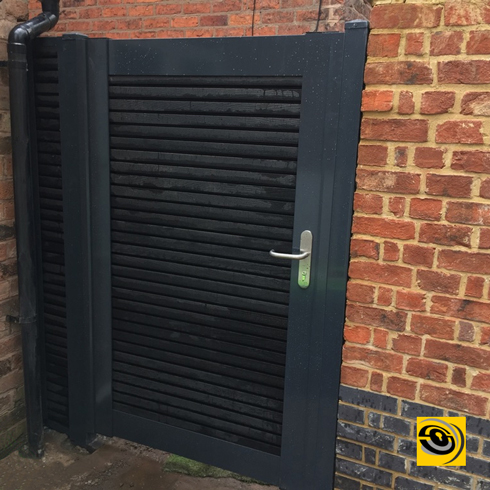
Step 3: Outside right view DuraPost gate with urban panels
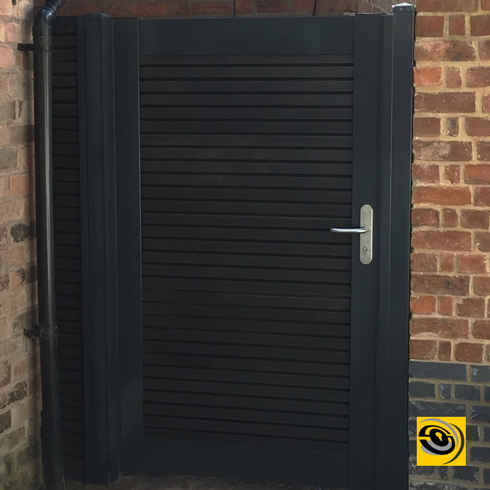
Step 4: Outside view DuraPost gate with urban panels
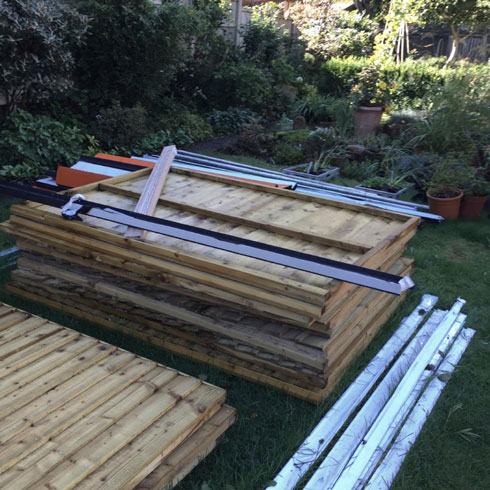
Step 2: Customer orders materials which are stored within their garden ready for installation day
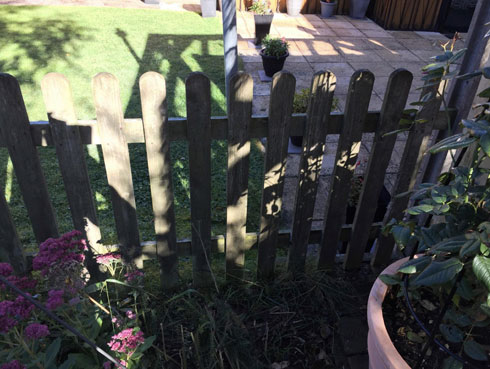
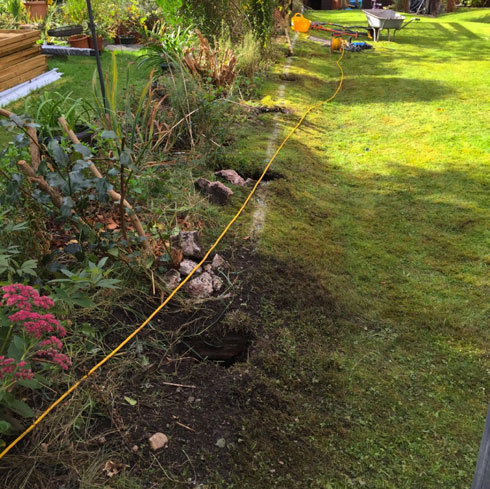
Step 3: Existing picket fence removed and post holes prepared
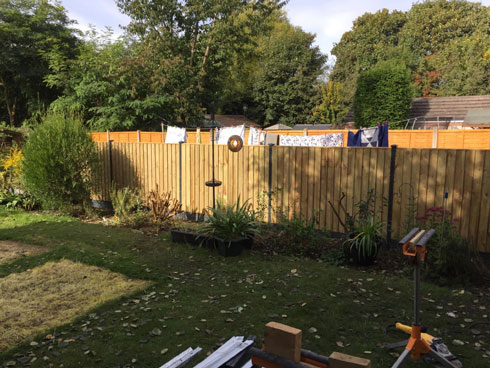
Step 4: DuraPost Installation without capping rails
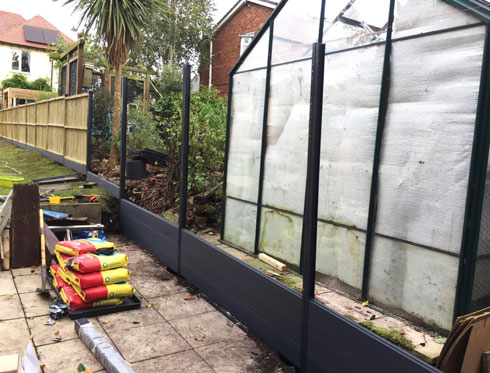
Step 5: Preparing lower garden 5ft fencing panels
Step 6: DuraPost neighbours side
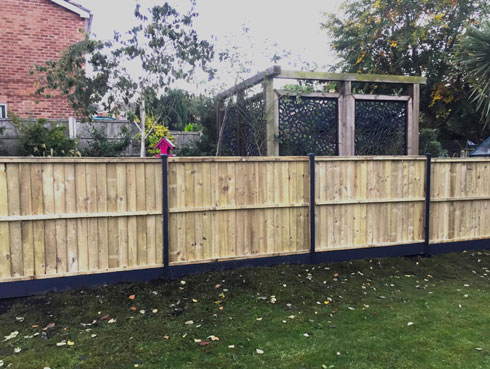
Step 7: Neighbours view of the DuraPost fencing system
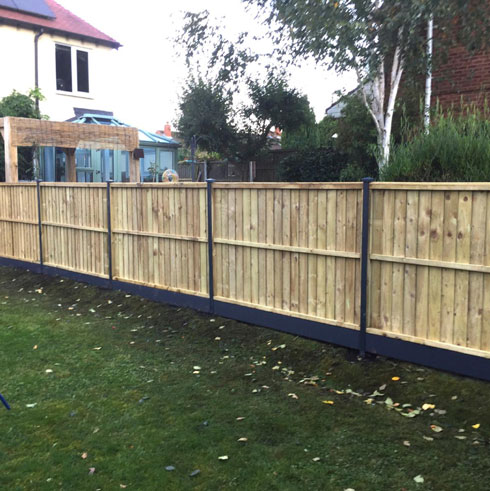
Step 8: DuraPost top view
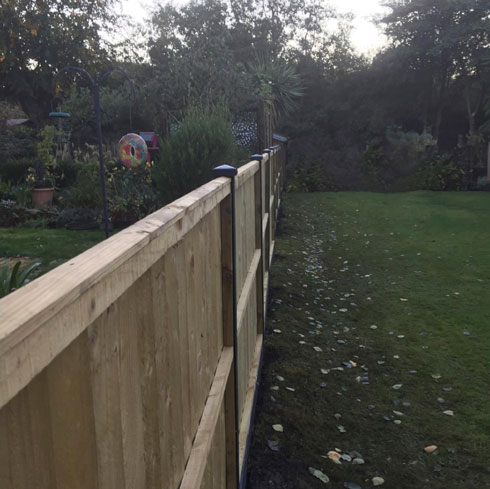
Step 1: Site visit to complete CCCS Installation 4
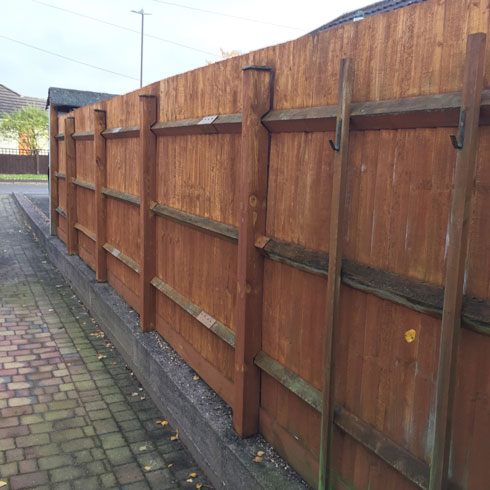
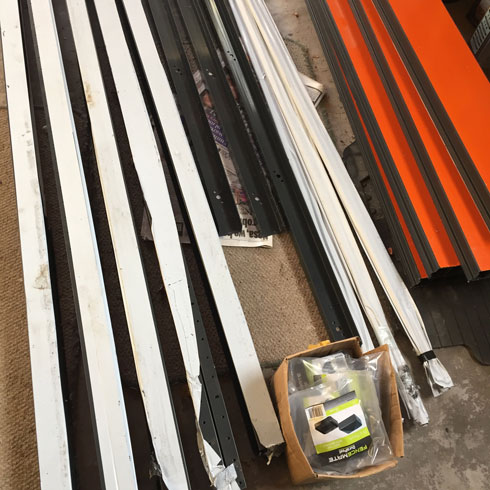
Step 2: Customer orders materials which are stored within their garage ready for installation day
Step 3: First fence panel fitted with DuraPost corner post, DuraPost U channel, DuraPost classic post and DuraPost gravel board.
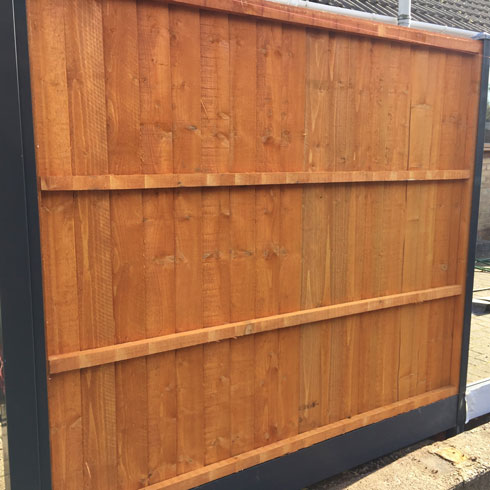
Step 4: Second fence panel fitted with DuraPost classic posts and gravel boards
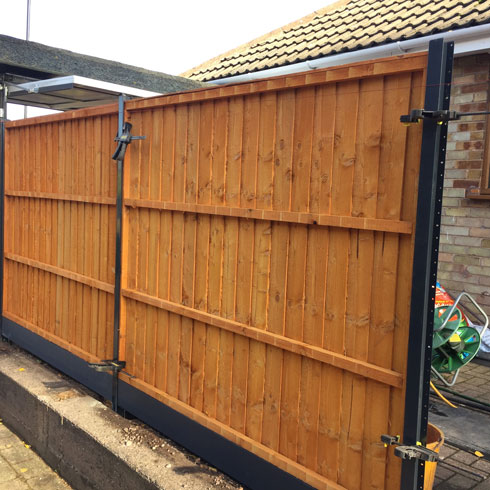
Step 5: Third fence panel fitted with DuraPost classic posts and gravel boards
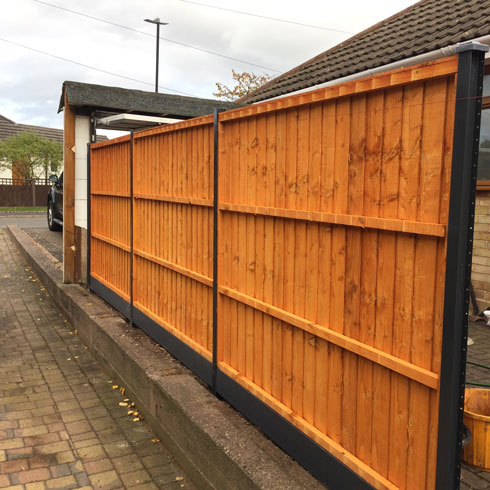
Step 6: Fourth fence panel fitted with DuraPost classic posts and gravel boards
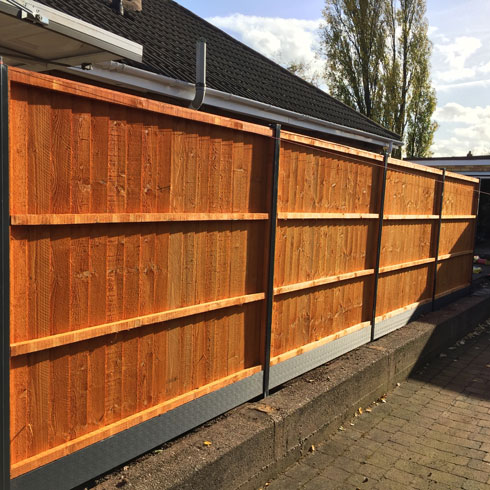
Step 7: Fifth fence panel fitted with DuraPost classic posts and gravel boards
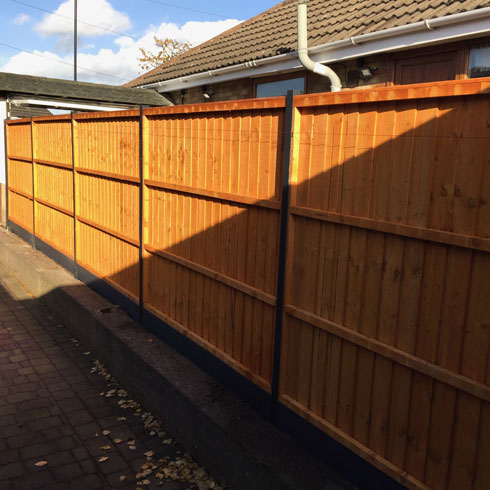
Step 1-3 Closeboard fencing Installation 5
We install DuraPost fencing system for customers in the West Midlands including Solihull, Knowle, Sutton Coldfield, Four Oaks, Walmley, Bournville, Shirley, Wombourne, Stratford-Upon-Upon Avon, Tanworth-in Arden, Alvechurch Bromsgrove, Clent, Earlswood, Kinver, Quorn Leicestershire and surrounding areas.
The closeboard installation had issues involving waste services pipes running in-line with the fencing system which required a CCTV service pipe inspection obviously the service pipe removal was not an option but with careful thinking a solution was found to complete the job to the satisfaction of the customer which you can view our customers feedback on our own provided review page or search independently about our services on Google my business page.
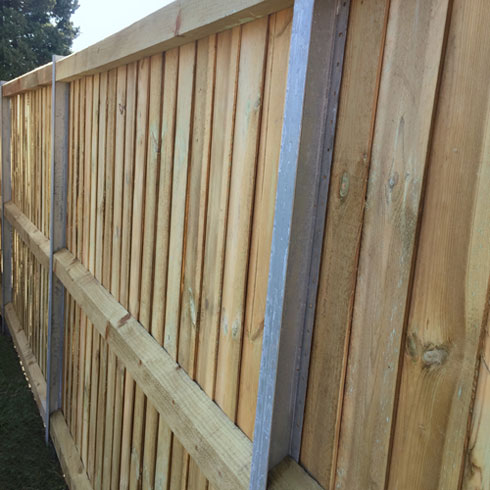
DuraPost classic galvanised steel post which comes with a manufacturers guarantee of 15 years allows us to install the strongest fence system by using a 3 x 100 mm x 50 mm angled Tanalised Cant Rails as shown on the above image this replaces the traditional Arris rail used on Timber and Concrete post systems which is normally only 75 mm thick then trimmed to notch into a typical wooden fence post making it even weaker in the process.
DuraPost classic galvanised steel post which comes with a manufacturers guarantee of 15 years allows us to install the strongest fence system by using a 3 x 100 mm x 50 mm angled Tanalised Cant Rails as shown on the above image this replaces the traditional Arris rail used on Timber and Concrete post systems which is normally only 75 mm thick then trimmed to notch into a typical wooden fence post making it even weaker in the process.
Latest news Durapost installation on air on the Alan Titchmarsh Love Your Garden series ITV aired on Season 10 Episode 5 Middlesbrough to go to show Click link

Our 4tress4u® services includes instant delivery of your Durapost system to your site as soon as the supplies are available for collection.
We use our own delivery services as we can make sure that each item as been collected and delivered to your site ready for the installation day.


